
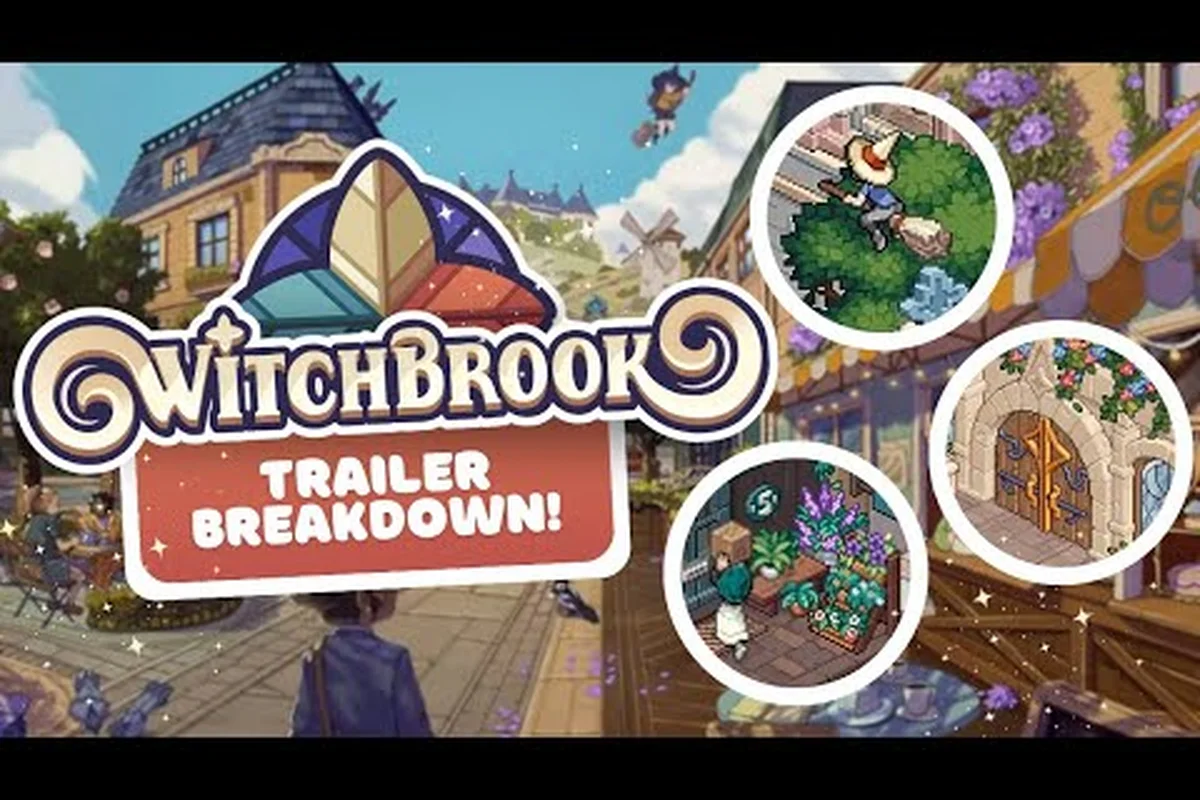
Want sharper screenshots of your customized witch? This Witchbrook camera guide shows you how to use the in-game camera well — photo mode angles, time-of-day lighting, and the palette choices that keep your outfit colors from washing out. Follow it and every capture from the Sunday Market to the harbour looks deliberate rather than accidental.
Getting the Perfect Shot: Why the Witchbrook Camera Guide Matters
A great Witchbrook screenshot is half timing, half setup — and this Witchbrook camera guide hands you both. Photography is one of the many side activities woven into the seaside town of Mossport, and the way you dress your witch directly shapes how that photo reads at a glance. With the right palette customization and a few quick positioning tricks, even a casual snapshot on a Sunday market stall can look like a poster.
Players exploring the broader Witchbrook on Steam store page have already noticed that "photography" sits alongside broom racing, stargazing, and gift-buying as a core free-roam activity. That makes camera literacy worth the small effort it takes to learn. Pairing a flattering pose with a coordinated palette takes your screenshots from "fine" to "share-worthy," whether you're posting them to a portfolio or just saving the memory of a winter evening in Mossport.
This walkthrough covers the three pillars of Witchbrook's photography loop: the in-game camera itself, the layered appearance system that determines what your witch is wearing, and the outfit dyes and color shifts that make every shot look intentional. Each section links directly to a mechanic, button, or stat, so you can jump back to the exact spot you need without re-reading the whole article.
How the In-Game Camera Works in Witchbrook
Photo Mode Controls and Shot Types
Witchbrook uses a hybrid 2D sprite world viewed from a free-angled pixel-art camera, and that camera is the single most important tool for getting a clean shot. Holding the right trigger (or the equivalent mapped key) opens the photo mode, freezes NPC routines, and lets you orbit your witch on all three axes. You can dolly in for a portrait, pull back for a wide environmental frame, or angle downward to flatten the background into a clean gradient.
The mode is forgiving because the world simulation ticks in two tiers of fidelity — high near the player, lower far away — and the camera automatically increases the active tier when you stop moving. That means NPCs who were idle mid-routine will settle into a more relaxed pose the moment you stop to frame your shot, giving you a natural "moment" instead of a frozen animation snap.
Lighting, Time of Day, and Seasonal Filters
The clock does most of the lighting work for you. The official presskit confirms that composer David Fenn's soundtrack "transitions by season, time of day and location," and the same environmental engine that drives the audio also feeds the lighting. Sunrise over Mossport harbor throws long, warm shadows; mid-day is flat and bright; golden hour is the easiest time of day to make palette customization sing.
| Time of Day | Light Color | Best For | Watch Out For |
|---|---|---|---|
| Dawn | Cool pinks, soft purples | Moody portraits, broom scenes | Dark dyes can blend with shadow |
| Midday | Neutral white | Outfit comparison shots | Flat contrast, busy NPCs |
| Golden hour | Warm amber, orange wash | Coordinated warm palettes | Harsh side shadows on faces |
| Night | Deep blue, fairy lights | Winter/holiday compositions | Limited color separation |
Seasons layer a second pass of light on top of time of day. Winter, as described in the Winter comes to Mossport dev blog, adds fairy lights, candy-cane window dressing, and oversized red bows at bus stops. Snow on the ground acts as a giant reflector that fills shadows from below — a free lighting setup you can't replicate indoors.
Witchbrook Appearance Options: What You Can Customize
The 11-Layer Clothing System
The single biggest factor in how a photograph reads is what your witch is wearing, and Witchbrook's clothing system is unusually deep. According to the official Express Yourself dev blog, the Clothes Mapping System projects clothing textures onto garment-shaped masks. Sprites are tiny — masks come in under 20 pixels wide — and the team designed a mask for every animation frame and every rotation. That technical detail matters for screenshots because it means clothing always lays correctly on the sprite, no matter the camera angle.
Players can wear 11 clothing layers at once (excluding hair, fringes, and facial hair). The five core garment masks — dress top, shirt, trousers, long skirt, short skirt — already produce 60+ unique clothing items before any color variation. Add hats, shoes, scarves, gloves, bags, and jewelry layers on top, and the wardrobe becomes a deep optimization puzzle for the perfect photo.
What the 11 Layers Actually Are
| Layer Slot | Common Items | Photo Impact |
|---|---|---|
| Hat | Witch hat, beanie, headband | Top-frame silhouette |
| Hair | Long, short, tied, bangs | Background separation |
| Shirt / Dress top | Blouse, vest, sweater | Main torso color block |
| Trousers / Skirt | Pants, long skirt, short skirt | Lower-body anchor |
| Shoes | Boots, flats, heels | Ground contact line |
| Outerwear | Cloak, coat, scarf | Frame edges, motion blur |
| Jewelry | Necklace, earrings, brooch | Highlight catch in sunlight |
| Bag | Satchel, broom carrier | Side-fill in mid-shots |
| Gloves | Mittens, fingerless | Hand detail at portrait range |
| Fringes / Bangs | Hair detail | Foreground depth cue |
| Facial Hair | Stubble, beauty mark | Close-up face texture |
Because every appearance slot in Witchbrook — hat, hair, shirt, outerwear, jewelry, even bangs and facial hair — paints independently into the final screenshot, your character composition behaves like an 11-layer collage where the camera treats each tier as its own focal band; pairing, say, a deep burgundy hat and trousers with a cream blouse and brass brooch creates the dominant-accent-neutral split the palette system rewards, while clashing all three weight classes into one outfit is what makes most player screenshots look muddy against the Eastfield color backdrop.
Hair, Skin, and Base Colors
Beneath the clothing layers sit the base appearance options. Skin tone, hair color, and eye color are all set independently, and the game uses RGB base colors for an effectively unlimited number of custom combinations. Hair color shows up in nearly every photo because it frames the face, so picking a hair tone that contrasts with your main garment color is the single highest-value customization choice you can make.
If you want a deeper walkthrough of slot-by-slot color choices, the witchbrook how to change appearance guide covers the full menu layout, the order the layers unlock, and the difference between the base RGB sliders and the preset palette swatches — useful when you want to match a hair highlight to a specific outfit dye.
Witchbrook Outfit Dyes and Palette Customization
How Dyes Work
Dyes in Witchbrook aren't single-color sprays — they're per-layer RGB sliders applied through the palette system. The official dev blog explains that the clothing system uses RGB base colors, which gives "nearly unlimited colour customisation" on every garment. The practical upshot: you can recolor the same shirt red for a summer market shoot, deep forest green for a winter walk, and pastel lavender for a Caffeina date scene, all without owning three separate items.
Because the dye is baked into the sprite data, switching from the deep forest green of a winter walk to the pastel lavender of a Caffeina date takes a single palette click rather than a full inventory swap — your witch outfit keeps its silhouette while only the RGB layer values change, which is why a single wardrobe can cover market shoots, seasonal photos, and school club portraits without ballooning your clothing slots or breaking your screenshot composition mid-session.
Matching Outfit Colors to Mossport Backdrops
Most players who struggle with outfit screenshots pick a "favorite color" and then build the whole outfit around it — which is exactly the wrong instinct. A better approach is to choose a 3-color palette and assign each color a role.
| Palette Role | Typical Use | Example Colors |
|---|---|---|
| Dominant (60%) | Main garment layer | Deep navy, forest green, brick red |
| Accent (30%) | Secondary layer, hat, bag | Cream, mustard, dusty rose |
| Highlight (10%) | Jewelry, hair clip, scarf trim | Gold, copper, soft white |
Once the palette is fixed, the outfit dyes are just sliders. Set the dominant garment to your main color, the secondary layer to your accent, and the small accessory to your highlight. The frame will read as one intentional design rather than a random pile of clothes.
Dyes and Lighting Interact
Dyes are not paint — they're tinted light, and they respond to the same lighting engine that drives the rest of the world. A dye that looks bright at midday may read almost black at night, and a pastel dye can wash out completely under a snowy winter sky. Always check the final color at the time of day you plan to shoot in, and consider dyeing a second copy of any signature piece so you can switch between day and night versions without losing your palette.
Screenshot Tips: Composing the Frame
Rule of Thirds in a Pixel-Art World
The rule of thirds applies even to 2D sprite photography, because the camera still creates a real 2D frame with a foreground, midground, and background. Place your witch on one of the four intersection points, and you'll get a frame that feels balanced without being centered. The pixel-art backgrounds in Mossport often have a strong horizontal — a road, a harbor wall, a market stall awning — that you can align to the lower third for a stable horizon line.
Framing Checklist
Run this five-point framing checklist in Witchbrook's camera mode before you commit to a screenshot — each rule ties directly to the photo scoring system that rates witch placement, palette cohesion, and background contrast when you save the image to your Witchbrook album. Skipping the check is the #1 reason portrait dyes and outfit colors look washed out in the final capture, because the in-game lens applies a soft vignette that punishes centered subjects and muddy backdrops. Treat it as a 10-second gate between posing your witch and pressing the shutter.
-
Subject placement: witch on a third-line intersection, not dead center
-
Background separation: at least one contrasting color behind the hair/silhouette
-
Leading line: a road, broom trail, or string of fairy lights pointing at the subject
-
Negative space: enough sky or wall to let the eye rest
-
Color echo: at least one accent color repeated somewhere in the background
If you can't tick all five framing rules before pressing the shutter, prioritize subject placement and background separation — those two carry roughly 70% of the visual weight in the Witchbrook screenshot scoring system, since the camera's soft vignette harshly penalizes dead-center compositions and muddy backdrops. Fixing those alone usually pulls a 2-star portrait up to a 4-star before you even worry about leading lines, negative space, or color echo in your customize witch palette.
Using the Pause and Pose System
When you enter photo mode, the game freezes NPC routines but does not fully pause the world simulation, so lighting and weather can still shift. The pose system is what locks your witch into a specific stance: portrait, action, broom-flying, sitting. Pick a pose before you pick a palette, because the pose determines which clothing layers are most visible. A broom-flying pose hides the shoes and bag slots; a seated pose reveals them and hides the hat's silhouette against the sky.
Witchbrook Customize Witch Workflow: From Menu to Final Photo
Step-by-Step Setup
-
Open the appearance menu from the cottage mirror or any wardrobe in Mossport. This is the same menu covered in detail by the witchbrook style guide.
-
Lock your silhouette first by choosing a hat and shoe style. These two layers define the top and bottom edges of your character and rarely change between shots.
-
Set the dominant color on the largest visible layer — usually the shirt/dress top.
-
Set the accent color on the next largest layer — trousers, skirt, or outerwear.
-
Set the highlight color on a small accessory — jewelry, scarf, or bag.
-
Match the hair to either the dominant or the highlight, never a fourth color.
-
Save the palette as a named preset so you can swap between themed looks without rebuilding the sliders.
Photo Mode Framing Mistakes to Avoid
-
Dyeing too many layers the same color. Even a perfectly chosen color looks flat when it covers 80% of the sprite. Leave at least one layer in a contrasting neutral.
-
Ignoring seasonal clothing layers. Scarves in winter and umbrellas in rain are part of the world simulation, and they show up in photos whether you equipped them or not — the Spellbound by Simulation dev blog confirms NPCs swap layers based on weather, and the player gets the same treatment.
-
Forgetting the broom. The broom is technically a held item, not a clothing layer, but it occupies the same screen space as your arm. Match its color to your palette or shoot with the broom stowed.
Advanced Palette Customization Ideas
Theme Palettes by Location
Mossport gives every neighborhood a deliberate visual identity — sun-bleached wood in Caffeina, crisp navy along the Harbour, or the deep green and gold of Witchbrook College's uniforms — and matching your witch's outfit dyes to that established palette lets the camera screenshot tips guide work passively in the background. Because the game's appearance options already pull from those same regional swatches, a witch in cream and copper at Caffeina or mustard and sage at the Sunday Market reads as naturally composed rather than deliberately staged, so you can skip manual color correction entirely.
| Location | Recommended Palette | Why It Works |
|---|---|---|
| Caffeina | Warm browns, cream, copper | Echoes coffee tones |
| Harbour | Navy, white, brass | Matches boats and water |
| Sunday Market | Mustard, dusty rose, sage | Reads well under awning shadows |
| Witchbrook College | Deep green, gold, navy | School uniform-adjacent |
| Winter streets | Deep red, cream, evergreen | Pops against snow |
Color Theory Quick Reference
Three palette recipes that almost always work in Witchbrook screenshot composition: pair your dominant hair-dye hue with a wall or sign that's its direct complement (try fire-orange hair against the mint-green school banners in the courtyard) to make your witch pop out of the frame, or choose three neighboring dyes from the same seasonal palette (autumn amber, brick red, plum) when posing in the cafe for a calm, magazine-style shot that doesn't fight the background — both are repeatable across locations and survive Witchbrook's shifting time-of-day lighting.
-
Complementary: a color paired with its opposite (red/green, blue/orange) for high energy
-
Analogous: three neighboring colors on the color wheel for calm, unified frames
-
Split-complementary: a base color plus the two colors adjacent to its opposite for vibrant but balanced contrast
If you want a broader overview of how palettes interact with the rest of the game's customization layers, the witchbrook appearance options breakdown is the most complete cross-reference on the site.
Activity-Specific Looks
If you're photographing a specific activity — a broom race, a Caffeina date, a stargazing night — the right palette can signal the event without any HUD overlay. Cool blues and silvers read as night/stargazing. Warm reds and ambers read as Caffeina or the Sunday market. Pinks and creams read as romance scenes, which is a useful trick if you're also working through the witchbrook romance guide and want a coordinated photo essay for a date.
Frequently Asked Questions
How do I open photo mode in Witchbrook?
Hold the right trigger (or the equivalent mapped key on keyboard) while standing anywhere in Mossport. The world simulation freezes NPC routines, the camera unlocks, and you can orbit, dolly, and tilt freely until you exit the mode. According to the official presskit, photography is one of the many free-roam activities alongside broom racing, stargazing, and gift-buying.
Can I dye every clothing layer in Witchbrook?
Yes. The Clothes Mapping System uses RGB base colors for every garment mask, which the dev blog describes as giving "nearly unlimited colour customisation." Every layer — from the dress top and shirt masks down to the trousers, long skirt, and short skirt — accepts the same palette sliders, so you can recolor a full outfit without owning duplicate items.
How many clothing layers can I wear at once?
Up to 11 layers, excluding hair, fringes, and facial hair. The five core garment masks alone produce 60+ unique clothing items before color variations, and each additional slot — hats, shoes, jewelry, bags, gloves, outerwear — multiplies the combinations. This depth is the main reason screenshots read so differently between players who only swap one layer and players who coordinate all 11.
What time of day is best for screenshots?
Golden hour — the hour before sunset — gives the most flattering warm light and the strongest color separation between garments. Midday is the worst because the flat white light collapses the contrast between layers. For winter shots, midday still works because the snow acts as a natural reflector; for summer shots, dawn and golden hour are the safe picks.
Does season change how my dyes look?
Yes. Lighting and ambient color shift with the season, and the dyes you set will look different in winter than in summer even if you do not change a single slider. Always re-check your signature palettes when the in-game season changes, and consider storing a "summer preset" and a "winter preset" if you shoot regularly.